Friday, May 20, 2011

Bridesmaid Dress Mommy Made

I always knew my mother was good at sewing, but I never realized just how amazing she really was. She always made all of my sister and my halloween costumes and special little dresses, jumpers and blouses when we were kids, but I had no idea she would do such an stellar job on sewing all four dresses for my bridesmaids to wear!

We had a little fiasco with ordering some dresses online and them arriving with fabric that was completely see-through. Those were promptly returned. I didn't want to go with David's Bridal (I was opposed to it for some reason and in hindsite it probably would have been the easiest route) and going to a local dress shop was too pricey and I didn't want to have to make my friends buy 200 dollar dresses. So I asked my mom, "Should I hire a seamstress?" We looked at a few on ETSY and I did love what they were doing but my mom said, "I can do that, it's easy!".

In the long run I don't think it ended up being "easy" for her but she seemed to enjoy the challenge and the process of making them and creating something that is going to be so prominent at the wedding.

We picked out the pattern - a sun dress pattern we found from Simplicity Patterns. Then we took one of the groomsman's french blue shirts to a silk fabric store in Carboro, NC and picked out a fabric that matched the guys shirts perfectly. Pretty lucky that we found the exact match!

Mother dearest has been working diligently on these dresses for a few months now and she finally had the last fitting with the girls last weekend! And they all fit really well! Whew ... and although we hit a few snags it all worked out perfectly!

If I had to do it all again I would probably just pick a color swatch and tell the girls to just find a dress in that color. That way they could then find whatever they liked/felt comfortable in and also at the price they wanted to spend. Picking a color like navy or black probably would have made it a lot easier too.

But I picked french blue with yellow accents and that is what I love about the dresses and I'm so glad it all worked out. The girls are going to look beautiful! (And the guys will look handsome too - don't want to leave them out! Men's Warehouse had some great deals.)


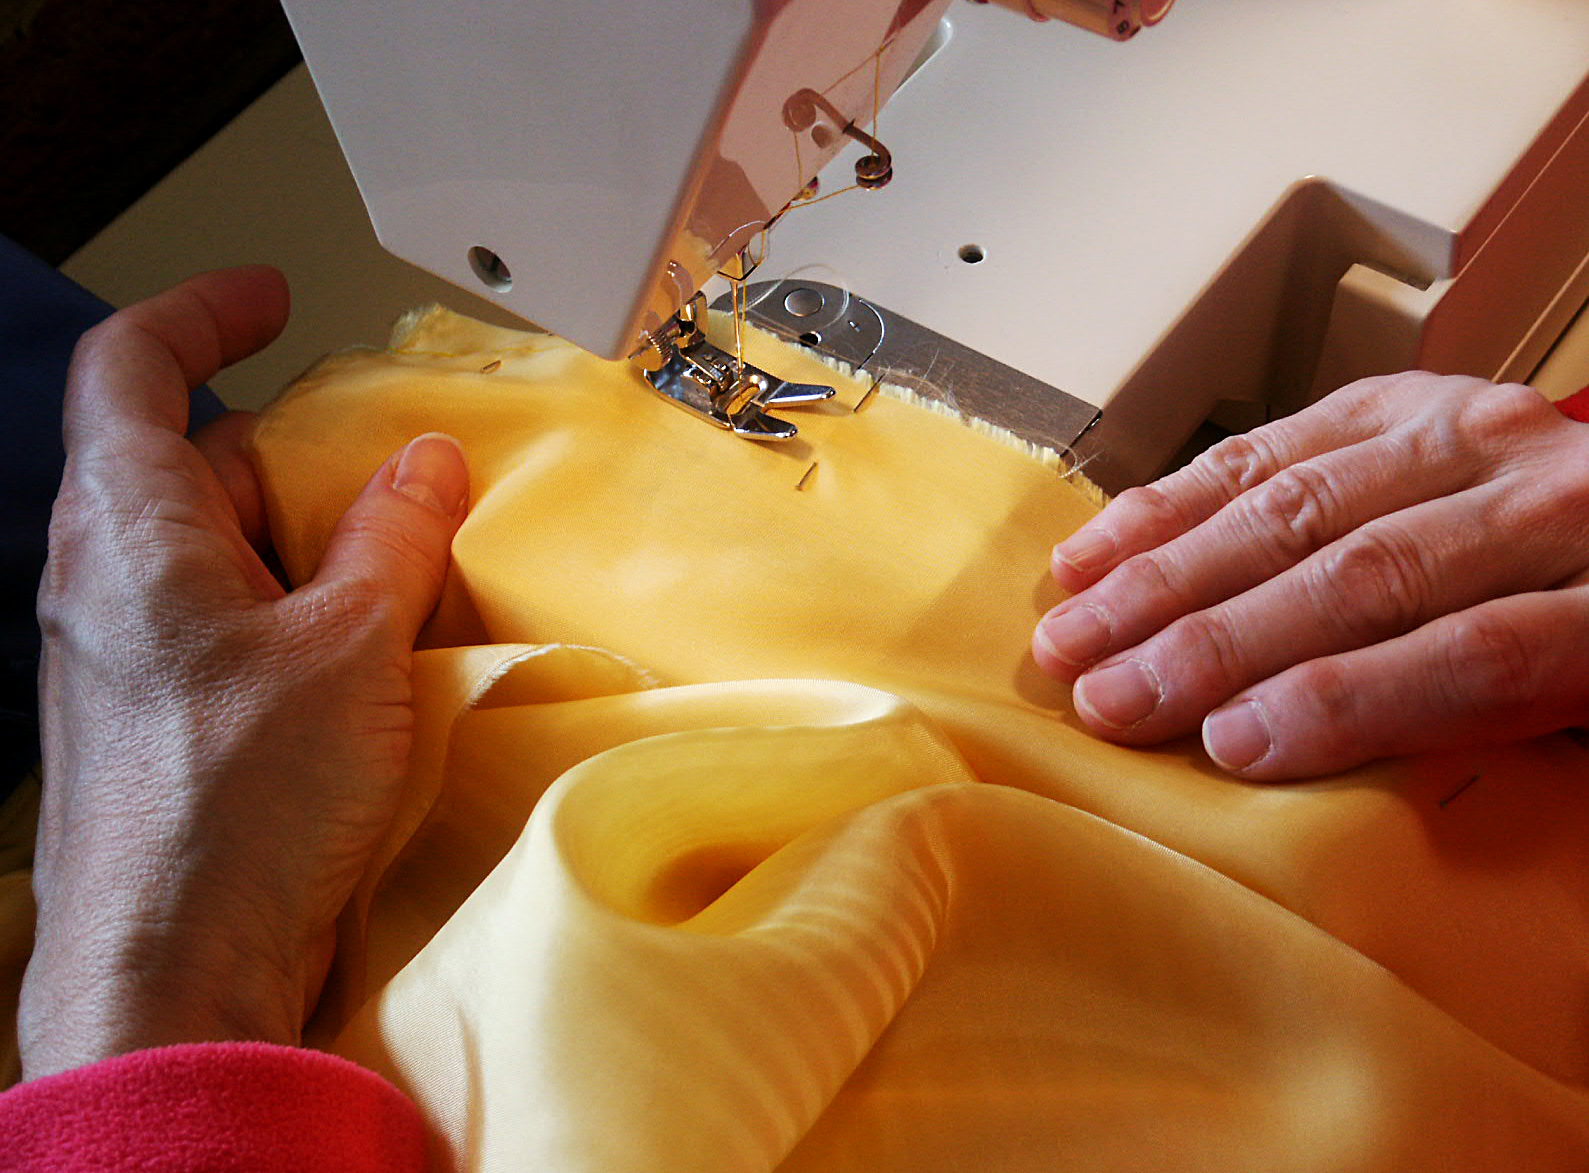
The blue with the yellow liner is so fun! I just love them. Thanks to the most wonderful mother in the world!

Tuesday, May 17, 2011

Yellow and Blue bird caketopper

It has been a while since I have blogged about my wedding crafts. I can't believe we are only ONE MONTH AWAY NOW! Yikes!

I think I took a break from blogging for a while for two reasons. First, because I have just been too gosh darn busy with wedding planning, preparing for a move across country to Denver and quitting my job while looking for another one. All that stuff sure takes a lot out of a gal. And Second, because I felt I didn't want my blog to come off as some kind of bragging show for all the things I was doing for my wedding.

But after numerous friends and family have told me how much they love to share the blog with other brides or party planners to get their inspirational juices flowing, I decided to start back up again. That IS the reason I started anyways, to share ideas with people to take, use or change to fit their event. After all I did steal pretty much everyone of my ideas from photos, other blogs and craft sites that I have visited. The internet is a limitless supply of DIY goodies you just have to find it. And since I LOVE to find it. I'm blogging about it. :)

Anyways, enough about the blogging hiatus. Onto wedding things. Look at these cute pictures of our cake topper!


These adorable little birds were made by a family friend from Minnesota. She hand sews tiny woodland animals and has her own ETSY shop. (If you would like to see more of Alice's Animals. They are pretty incredible.)

The thought behind using these birds as a cake topper was that we could then save the birds, attach a string to their backs and use them as Christmas tree ornaments for years to come. I love Christmas tree ornaments with a story. Every year when decorating my parents tree I get to relive those fun memories. And now starting a family of my own, (and hopefully having an actual tree next Christmas) these ornaments will be very special indeed as they will have sat atop our cake and witnessed the love and joy of our wedding day!

(Side note: If you have been following the blog the whole time you might be confused. Because, I am still doing cup cakes for the reception. So what cake will these little birds be sitting on you say? And, no they are not small enough to sit on a cup cake. We will have one 2 layer 8 inch round cake on a stand amongst the cup cakes on the table and that will be the cake we ceremonially cut and decorate. Everything else is cup cakes and cake pops!)

So there you have it. A cake topper you can keep and use for years to come.

It will be sitting a top the sugar cookie and fondant nest that I blogged about before. Thanks for reading and sharing!

Friday, April 15, 2011

Pinwheel Boutonnieres

I love pinwheels! So when thinking about an option for boutonnieres a miniature pinwheel came to mind and I never gave it a second thought.

Something about pinwheels just says youth, innocence and fun! And that is exactly the mood that I wanted to set at our wedding. The groom, groomsmen, father of the bride, father of the groom, grandpa and sweet little baby nephew will be donning these tiny pinwheels during the ceremony.


Boutonniere pinwheels were actually pretty easy to make. Here is how I did it.

Step 1.) Find some paper with a cool pattern on it. I used scrapbook paper but you could just use colored paper or even paint your own design on a piece of paper. Double sided scrapbook paper would work the best because then you will have different colored pattern on both sides when you fold the corners over. I just used yellow paint to paint the back side of this yellow patterned scrapbook paper.

Step 2.) Cut a 3 inch by 3 inch square. Then with and exact-o knife cut slits from the corners to the middle of the paper. Don't cut all the way across the paper, you want their to be enough middle intact so your pinwheels don't fall apart when you begin folding.


Step 3.) Fold every other cut corner into the center. Use hot glue to secure the corners down in the center. I used a button to decorate the middle of mine, but you could use a bead, sticker or whatever you think would look neat.


Step 4.) Now that you have assembled this little pinwheel, you could use it to decorate all sorts of things. Use it as a bow for a present or hot glue a tooth pick to it and use it as a cup cake topper. The possibilities are endless! Since I'm using them as boutonnieres, I flipped them over and attached safety pins to them. Just a little dab of hot glue and these boutonnieres are ready to grace some good looking man's lapel. And all the men in my wedding are extremely good looking! :)

I think the best looking man of them all (besides my fiance of course) is my little baby nephew! Just look at the 1 inch by 1 inch even tinier boutonniere I made for him, and tell me that doesn't make you say "Awwwww".


Thursday, April 14, 2011

Guest book table decorations

Even though it may seem fairly insignificant, the guest table is an important part of the wedding. It is the first table you want all of your guests to visit after entering the reception venue (after they hit the bar of course). On the table there is usually important seating information, a guest book for people to sign and other favors or things that you might want your guests to pick up or see. So naturally people want to decorate the table a bit. But what to do?? Something fun to attract guests to the table but also something inexpensive because let's face it the guest table is a "get in get out" kind of area no one lingers there or revisits it. (Unless you put the guest table next to the bar, then people will see it many, many times that night.)

Our decoration solution was two wine bottles to go with our centerpiece theme and giant pinwheels!


Originally, I loved the giant pinwheels so much that I wanted to use them for the table centerpieces. But then I was reminded by a friend that giant centerpieces can be annoying to guests who can't chat with the person across the table from them, because a huge object is blocking their view. Not to mention blocking their view of dancing and other wedding happenings. So instead the giant pinwheels will be on the guest table!

Strung between the two wine bottles and pinwheels are a few photos of the happy couple. Also our guest book. I would say that probably most people don't get "excited" about their guest book, it is just a book where all the attendants can sign and wish the couple well. BUT, I am excited about this book.

We decided to go with a non-traditional guest book and get a coffee table book of the Blue Ridge Parkway and guests can sign in the margins. We got the idea from a family wedding in the Outer Banks and they used a coffee table book of North Carolina Beaches for guests to sign. Great idea I thought!

This book will be something that we will not only hold on too for a long time, because it contains great photography of the Blue Ridge mountains (that remind us of our home and the town that we meet and fell in love in) but also it will have all our friends and families names and supporting messages written in the margins. It will truly be a special book to have. So there it is. I'm excited about my guest book!

Also we will have a little hand stamped sign (that matches the invitations) to instruct guests to sign the book. Just in case someone is confused. haha.


Once again, I could not have done all this on my own. I got the over sized pinwheel idea from Kellan Studios. (The internet is an endless supply of amazing do it yourself projects, you just have to find them.) And my wonderful bridesmaids helped me cut out the paper and assemble these pretty pinwheels of happiness!

I bought colorful scrapbook paper from Michael's and the buttons for the center where just somethings that I had around the house. (I always hang on to random things like that, you never know when you might need them!) And with a TON of hot glue we had these beauties assembled.

I think I will string the extra ones on a string and hang them up for the back drop of a "photo booth". Yay!

Hot gluing the back of a pinwheel in place

Cutting the colored paper into strips

Folding the strips to give the texture

Finished pinwheels!


Friday, April 8, 2011

Banded together

With the help of the photographer from my office, some lights and reflective backdrops, we held a little wedding band photo shoot today. It was fun to use the micro lens and play around with the reflections and lighting. We ran into some difficulties photographing Dan's ring because it reflected every little thing in the room. So you will see my little fingers and a big black circle which is the lens in some of the photos. But after constructing a few paper "huts" to block out all the reflections, playing with the amount of lighting and some photoshopping expertise, I think we got some pretty cool photos!

I think I love these photos so much because I am absolutely in love with my engagement ring and wedding band. I can never get enough of glancing down at my ring finger during the day and I can't wait to for the extra wedding bling to be accompanying my engagement ring for double the peeking pleasure.

My engagement is unique to me because it was Dan's mothers ring. Not only is it a special family heirloom but it has very special meaning to me to wear it. Plus, Teri (Dan's mother) had great taste because I think this sapphire engagement ring is wicked cool, vintage and just my style. I wish for every woman to love their engagement ring as much as I do. Every girl deserves that!

My wedding band was hard to pick out. It seems the style of rings now is "the bigger the better" and all the main jewelry stores (Kay's, Zales, etc.) had big honking wedding bands and they all looked so silly when paired with my delicate engagement ring. I needed something dainty for my baby 4.25 size finger. I ended up finding my wedding band at Capone's Jewelery downtown Blacksburg. They make custom jewelry but have all sorts of pre-made items to choose from as well. I loved their selection and talking to Faith who owns the store was so helpful. They never ship your jewelry away because they do all their repairs, sizing and appraising in house, which was very comforting to me. (I have heard too many horror stories of lost rings!) And they are a local business that had just the ring I was looking for! Love, love love.

Dan's ring is a simple comfort fit white gold band. We both got white gold but in the photos my ring often looks a little more gold in color then silver (which is what it looks like in everyday light). Dan's ring always looks silver ... which makes me wonder if his is really white gold. Hmmmm...

Anyways, enjoy the artsy photos of the rings!


Friday, March 25, 2011

Cute wedding Clutch

I'm all about free giveaway. I'm even more for it when it is something as adorable as this clutch!


The Knotty Bride is doing a give away of a sweet Etsy designers clutches. Check them out at Mermaidsdream. They are really cute.

Plus, if I blog about it I get another entry in the contest. So win win, you get to look at cute wedding (or other occasion) clutches. And I could possibly win a free one to put all my 'emergency' wedding supplies in. Sweet!

If you want to enter in the contest before April 1st go too www.theknottybride.com

Wednesday, March 23, 2011

DIY invitations, table cards and more!

Turn a plain white invitation into a handmade work of art.


I was looking for a stamping art project to do. Creating and using stamps to make art was one of my favorite projects in college. There was even a semester in experimental drawing where I used my own carved stamps to create patterns in pretty much all of my pieces.  I thought wedding invitations was a great excuse to break out those former skills and bring my old linoleum block cutting set into action.

Here is how the process went and how you can do it too!


1.) I purchased a packet of postcard paper from Office Max. This paper was perforated so that all I had to do was layout my invitation text four to a page and run this paper through my home printer and tear apart. I used a matte paper that was textured for a little added detail. It was so easy that I plan on doing my thank you cards and programs with this same paper.


2.) Now for the decoration. I first designed what I wanted the invitations to look like in photoshop. I can't help myself, I use the computer to sketch out all my art work. I'm a graphic designer I think it is just natural for me to sketch on the computer first.

Once I was good with the design, I printed it out and sketched out the two birds sitting on a branch with two flowers above them directly on the linoleum block.


Then I began carving out the reverse of what I wanted the final image to be. I used a Speedball carving tool that I already had, but they are around 10 bucks to purchase from any art store.
I repeated the same process with two smaller rubber block stamps for extra flowers to use.


3.) I used a large flat plastic surface to roll out some yellow and blue printmaking paint. With two rollers I applied both blue and yellow paint to my stamp. The birds blue and the flowers above them yellow.

Make sure you use a water-base printing paint. That will ensure your invitations dry nice and fast so that you can do the other side in the same day. I made the mistake of using an oil base paint and although the colors are very vivid and beautiful I had those puppies hanging up for about a day and a half before I could do the other side. Even then, some of them stuck together.

My helper hard at work. Is that an empty mimosa glass I see? This is an unacceptable work environment. You need a refill!


4.) With a thin layer of paint on the stamp, I then lined up the back of my invitation with the edge of the stamp and applied pressure evenly to the surface to make sure all the paint transferred equally from the stamp to the paper.
(you don't want too much paint or when you stamp it paint will gush out and create a messy image)

I peeled back the invitation and my design was printed on the back!


5.) Then I hung up to dry. With the help of my lovely bridesmaids we repeated the process on a hundred plus invitations ... whew!


6.) Once the back side was dry I flipped the invitation over and using my separate flower stamps that I carved put one blue and one yellow flower on the front of the invitation.


7.) What was great about creating my own stamp for the wedding invitations was that I could now use those stamps on everything. Again with the help of my bridesmaids we stamped blue and yellow flowers on table cards, table numbers, RSVP cards, programs and various other things that will be set up around the reception.

Warning: Not every card is perfect and there are definitely ones with smudges but they are all hand-stamped and made with love! 


This was a time consuming process but it was very fun! 

It is also a good idea to print more then you need just in case you mess up on a few ... which is bound to happen because we are only human and that is why it is called handmade!

Happy stamping!